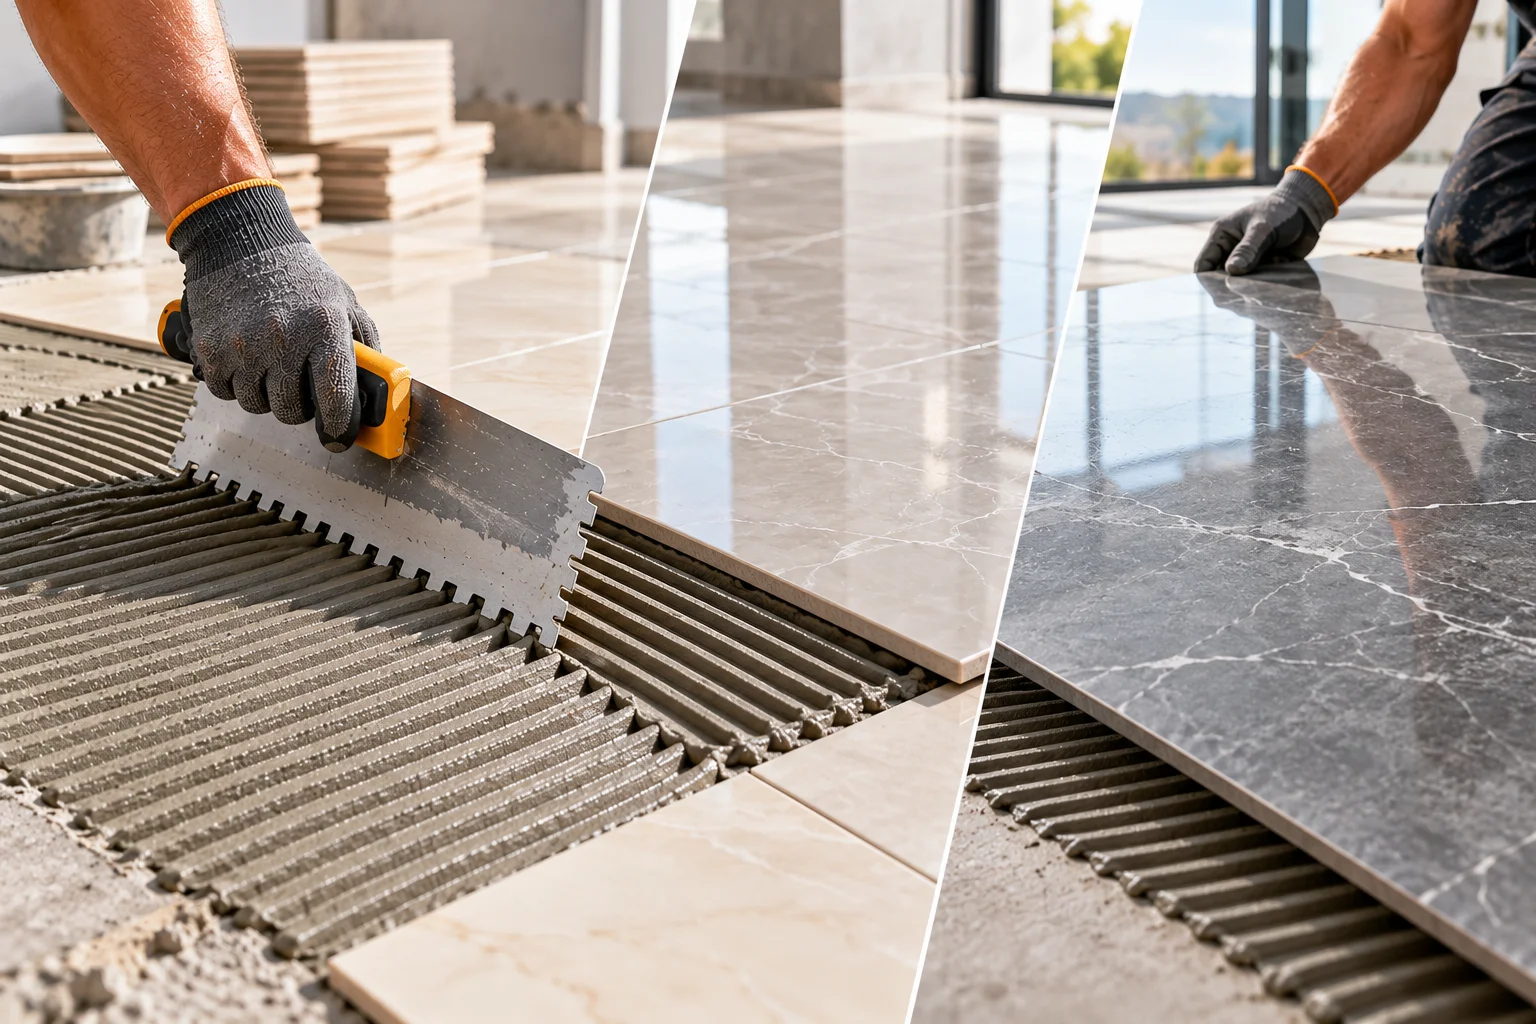
Choosing tile adhesive starts with the tile and substrate, not just the tile’s colour or price. Ceramic, vitrified and large-format tiles can have different absorption, weight and installation requirements. The correct adhesive class and method should be determined from the tile manufacturer’s guidance, substrate conditions and project specification.
Why tile adhesive selection matters
The adhesive must suit the tile type, tile dimensions, substrate and service conditions. Selecting the wrong material or applying it incorrectly can contribute to poor transfer, hollow spots, debonding or cracking. Review the product label and current technical data sheet before starting installation.
Match the adhesive to the tile
Ceramic tiles
For common ceramic tiles, choose an adhesive explicitly approved for the tile and substrate combination. Check whether the installation is on a wall or floor, indoors or outdoors, and whether the substrate is cementitious or another material.
Vitrified tiles
Vitrified tiles typically have low water absorption. Confirm that the adhesive is designed for vitrified tile and the particular installation conditions. Large tile formats, exterior applications and challenging substrates may require a higher-performance adhesive class as specified by the project.
Large-format tiles and stone
Large-format tiles require careful substrate flatness, adhesive coverage and handling. Follow the tile manufacturer’s recommendations for adhesive class, trowel selection, back-buttering where required, movement joints and maximum dimensions. Natural stone may have additional sensitivity and compatibility requirements, so confirm suitability before installation.
Selection checklist
- Tile material and size: Ceramic, vitrified, porcelain or natural stone; note dimensions and weight.
- Substrate: Confirm the base is sound, clean, flat and suitable for the chosen adhesive.
- Location: Indoor, outdoor, wet area, pool, facade or high-traffic floor applications need the right specified system.
- Movement and exposure: Temperature changes, vibration and water exposure can affect the required adhesive class and joint design.
- Application: Observe water dosage, mixing time, open time, bed thickness and coverage requirements.
- Grouting and movement joints: Use compatible grout and respect the designed movement joints; grout does not replace movement joints.
How to avoid common installation problems
Do not spread more adhesive than can be tiled within the stated open time. Avoid adding water to a mix after it begins to set. Use the recommended trowel and installation technique to achieve proper adhesive transfer; periodically lift a tile during installation to check coverage. Protect the finished area from traffic until the product instructions allow it.
Do not use a single tile-adhesive grade for every installation by default. Read the TDS for approved tile types, substrates, exposure and limitations. If the site includes a facade, swimming pool, wet area or large-format tile, have the system checked against the relevant project requirements.
Find a suitable tile adhesive
Globe Construction Chemicals provides a tile adhesive and tiling solutions range for construction applications. Share the tile type, dimensions, substrate and installation location with the supplier to identify an appropriate product and request the current technical data sheet.
For product information and procurement enquiries, visit the product catalogue or use the contact page.
Frequently asked questions
Can the same adhesive be used for ceramic and vitrified tiles?
Only when the selected product explicitly lists both tile types and the substrate and site conditions in its approved applications.
Does large-format tile need special care?
Yes. Substrate flatness, adhesive transfer, trowel method and the tile manufacturer’s installation requirements should be checked carefully.
Can the adhesive be applied over any old surface?
No. The substrate must be sound and compatible. Any existing coating or tile must be assessed and prepared according to the adhesive instructions.